

Door block that automatically cuts the walls - Case #003
door block that automatically cuts the walls - Case #003
We’re going to look at a case that opens up a huge range of more complex possibilities, especially when combined with the parameters we’ve covered in previous tutorials.
The next one will be a little more complex, but for now, let’s focus on a practical—and extremely useful—case. Well, that’s how I see it, anyway. Let me know what you think!
This tutorial can be applied in exactly the same way in ARES Commander (as in the example), DraftSight, and AutoCAD, at least.
Nota: Custom Blocks es el nombre que reciben los bloques paramétricos en ARES Commander y DraftSight, mientras que en AutoCAD se denominan Dynamic Blocks. Los pasos explicados en este tutorial para crear un Custom Block paramétrico en ARES Commander son, en esencia, los mismos que se siguen en AutoCAD para crear un Dynamic Block.

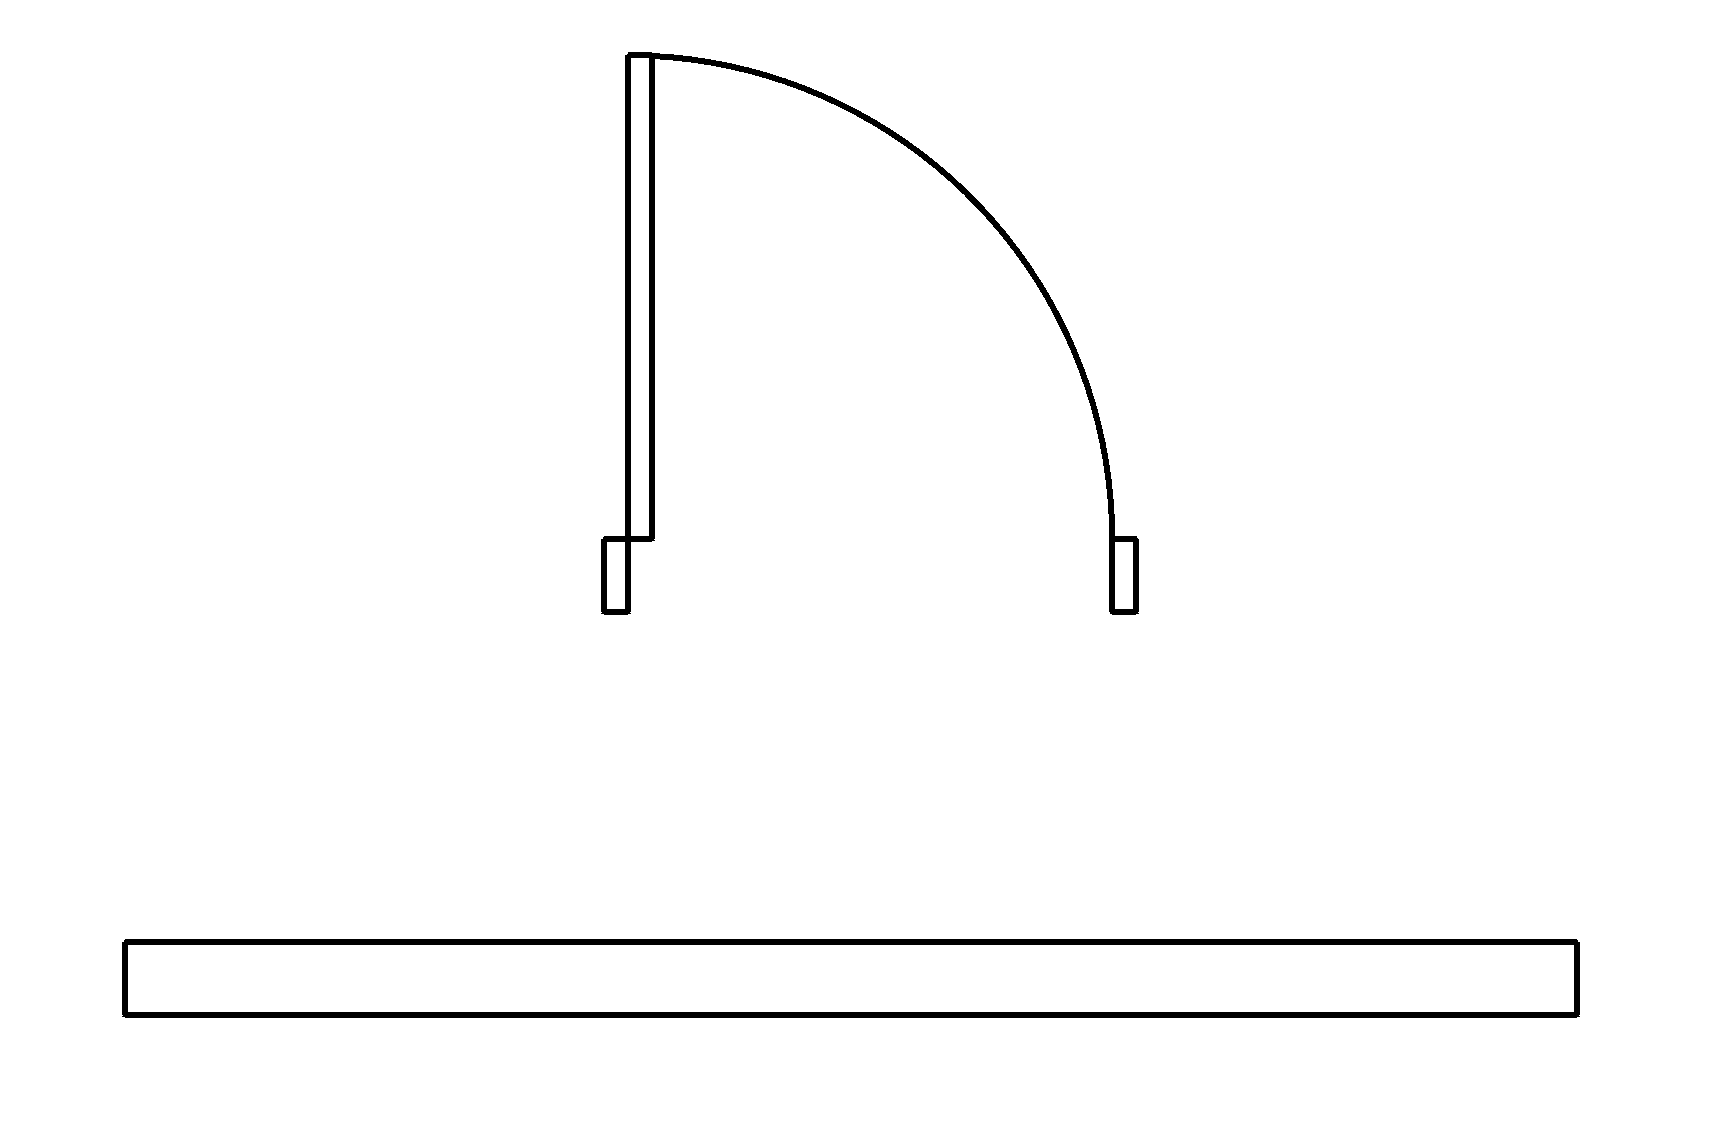
For many of you, the first part of this video may seem like something you can simply skip. I’m just showing how I created a wall, which is basically a 300 × 15 rectangle, and a swing door that I then convert into a block.
At the end of this first part, you’ll see that, for the moment, the block doesn’t behave the way we would expect. So, I move the block and place it on top of the wall—but, of course, everything simply overlaps.
A typical CAD user might say, “Well, we need to create some construction lines, trim the geometry, or use a stretch operation,” among many other possible solutions, in order to create the opening in the wall. But in this tutorial, we’re going to take things a step further and show you a more advanced approach.
VIDEO 1
Edit the block by double-clicking it. We could add parameters to allow us to flip it right/left, inside/outside, open or closed, and change it to different sizes, but we’ll leave that for another tutorial. For now, we’re going to focus on how to “cover” the wall.
To do this, we’ll use the WIPEOUT command, which allows us to create a shape that will do exactly what we need.
In this case, the order is important, and we need to send it behind the door; otherwise, it will cover the door as well.
But there’s another option we need to keep in mind. By default, the WIPEOUT frame is visible. If we want it to be invisible, we can use the FRAME option, which we can access by typing the WIPEOUT command again. Alternatively, we can use the direct shortcut WIPEOUTFRAME.
Save the changes, and we can check how it works.
VIDEO 2
What do you think? Did you know about this option?
You can apply it in many architectural situations, for example, with trees or cars, without needing to use Trim. It can also be useful in engineering, when working with parts that you want to place on top of one another.
Give it a try! And remember, you can download ARES Commander and experiment with these features to create your own smart blocks.
https://www.graebert.com/cad-software/download/ares-commander/